


If you are often offered a way to generate adsense to thousands of dollars, maybe this post is appropriate for you. Every person who wants to do business must have a variety of ways to convince potential buyers. One of them is to show proof of income that has been obtained. This is indeed the most convincing but please know that not everything you see on the internet is true, including the evidence that they show screenshots.
If you do not believe just look at this website, then enter your adsense earning adsense earnings yesterday and today (composed only). You will be surprised to see a screenshot of the display. Know a lot of scams on the internet, but that does not mean there is no original. You only need to be extra careful that you do not be fooled.
This is just adsense, what about the others ...
note: do not be used for evil
Do not be fooled by the merchants adsense
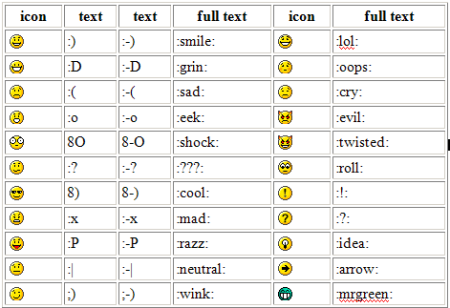
Turning on your blog with emoticons WordPress
Emoticon wordpress will make your blog a blog slang. Especially if your blog is a personal blog with casual language. Generally, the atmosphere of the blog will be relaxed and the blog alive so that many people will leave a comment. However, I do not recommend any type of blog use emoticons. If your blog is talking / theme about something serious, such as business, natural disasters. The use of emoticons would likely eliminate the main message of the blog-bijaklah so use it wisely. Blog your life originally could be dead because of it.
emoticon WordPress

Animation effects Italic - Rotate
This time I will discuss 'How to Create Animation Effects Italic' point here when the mouse is highlighted to the header then the header it moves to its normal position previously skewed. Tilt effect not only on the header only, but in all the widgets in your blog such as Picture and Writing. example you can see here ...
The trick is easy enough and the code that needs to be in rehab too cuman its CSS code only, namely by using CSS3 code, but there are drawbacks as well, because only the latest browsers that support CSS3.
Before we look at its CSS code, here I will give two (2) of the first oblique effect:
1. Leaning to the right effect:
How to Make Image Hover Zoom
On this occasion I would like to give a tutorial blogger again, after a long absence tutor bloggers posting. well here I want to give 'Imge Creating Hover Effect Zoom on all images posts' image at the point here is highlighted, it will cause effects on the image enlargement ..
This trick is purely from the effects of the CSS, see for example HERE. look on the Photos About me.
If you want to try it just follow these steps:
1. Log in to your Blogger account each
2. Click the Design or Design, then select edit html
3. Check Expand Widget Templates (I recommend downloading your template first)
4. looking for code:. img {profile (If you do not see you then place the following code above the code ]]></ b: skin>)
Then delete the above code, and replace with the following code:
Framed Photo Profile
Desiring to be displayed on the profile photo into the frame so cool .. there is a reasonable desire if you ask me. Yups .. for that I will discuss a little trick that any photo into a frame.
In order profile photo to be framed, his pace is very simple, you just change the value of the border in css sheet stylee on the photo for the profile.
for the old template like this:
explanation:
float: left; -> means that photo will be stored on the left in writing frofile.
padding: 4px; -> padding here means the distance between the photo with figura (border) by 4 pixels, if my friend does not want any distance between the photo with frame, then just change its value to 0px (zero).
border: 1px solid # ddd; -> this is the framed pictures, figura value is 1 pixel, if you want figuranya look wider, so just change the value of 1px with a larger value, for example 6px, 8px or the other. code # ddd -> is the code for the color gray, color code, please replace the other if it is not suitable.
Modifying the Footer Template
This time I will share tricks on how to modify the footer in your template. Follow the steps ...:
1. Login to Blogger.
2. Click the Layout -> Edit HTML
3. Backup your template by clicking on Download Full Template so you can restore your template to its original state if the results are not satisfactory.
4. If so, find this code ]]></ b: skin>
5. Add the code below:
# footer-column-divide {
clear: both;
}
. footer-column {
padding: 10px;
}
above the code ]]></ b: skin>
6. If you are looking for the code below:
<div id='footer-wrapper'>
<b:section class='footer' id='footer'/>
</ div>
7. Delete the code <b:section class='footer' id='footer'/> and replace with the code below:
<div id='footer-column-divide'>
<div id = 'footer1' style = 'width: 50%; float: left;
margin: 0; text-align: left; '>
<b: section class = 'footer-column' id = 'col1'
preferred = 'yes' style = 'float: left;' />
</ div>
<div id = 'footer2' style = 'width: 50%; float: left;
margin: 0; text-align: left; '>
<b: section class = 'footer-column' id = 'col2'
preferred = 'yes' style = 'float: left;' />
</ div>
<div style='clear:both;'/>
</ div>
8. If you already click Save Template.
9. Then click Page Element.
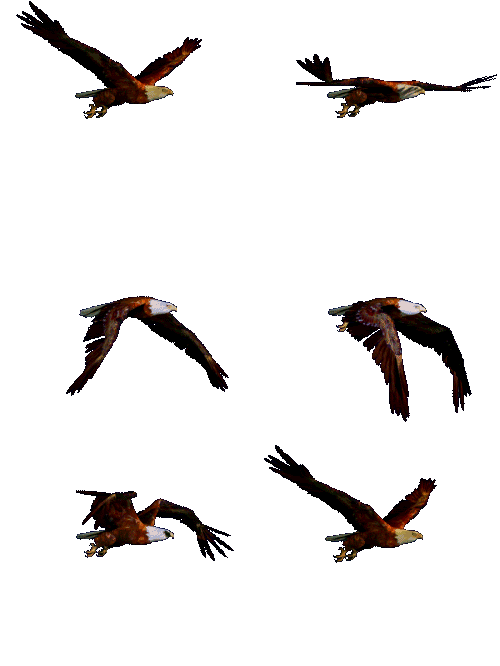
Create animated birds flying in the blog
 First you login to your blog
This is an example image that I have the address and pictures



How to Make a Box Author
Want to every post you show your photo (photo author). Now I will share how to make your blog title box. What's the author's box? hmmm ... Quote of the length x width jelasinnya Below is an example author box or see Here

Interested? If so please continue to read it but if not interested please read my other articles.
Make the following steps:
1. Login first to Blogger
2. Then click the Layout »Edit HTML
3. Do not forget to Check the Expand Widget Templates
4. Then find this code]> </ b: skin> Press Ctrl + F (mozzilla) to facilitate the search.
Then put the following code above.
6. Terakhir Save.dan lihat hasilnya...
Selamat mencoba
Hacking With Google Search Engine

Please create own buddy with the commands above. If you are not satisfied at the code above please find your own friend code / command from google at here or here
How to Install Favicon All Browser
This is a continuation of my last post here There are many favicon script that is often used by bloggers, but the script does not support all browsers. Sometimes the favicon can only appear in mozilla and IE browsers only. Or just in mozilla only. Okay now I will share favicon can appear in all browsers you use.
Copy Paste the following code before </ head> or after <head>
Good luck buddy!!!
How to Create Banner Ads
I will teach simple tricks to make the box ads (Banner Box). Banner ads for the function itself I do not think I need to explain again to what .. I'm sure you already understand. immediately wrote you see the tutorial below:
How to make a box ads (Banner Box):
First, the entry on the Edit Html, CSS and then enter the code below under the code <b:skin> <! [CDATA [
Already? Next create a new page element .. then you just enter the code below
For how many ads you just add or subtract corresponding code below. Do not forget to replace the red color with your own url address.
Good luck buddy!!!
How to Speed up Computer Performance
The computer is an object that can perform various kinds of activities and cansimplify your job. Now the PC is one thing that must be owned by any person as a result of technological development is so rapid in the modern era it is today. If a PC or laptop computer that you have felt so heavy and slow, you will be very upset!!

1. Deleting some files and programs. According to John Burek from Computer Shopper site (Cieee. ..!!!), the more files and programs that my friend had, then make your computer work more slowly buddy. Therefore, delete data or programs, especially if you no longer need a large capacity, such as games or images. By removing the file, hardware or hard drive can speed up the startup and gives energy to the CPU.
2. Clean up your desktop screen. Rich Brown of CNET says several track or document shortcuts, programs on the desktop screen allows you to access quickly. But if too much of both personal computers and Macintosh to work extra sort the piles of files when the computer running mate. Therefore clean the shortcut from the screen pal.
3. Manage the program automatically. Some applications may delay the work automatically when the computer starts "startup". Even without my friend knowing it, the program is installed. Like the iTunesHelper program, which is not needed until my friend opens iTunes. Therefore, check your computer again, and choose "unchoke startup", "disable auto-launch" in the program.
4. Simplify security virus. Protect computer from virus attacks is important, but to collect anti-virus software will drain excessive computational resources while scanning the threat, so as occurs malware installation. Choose a program that has been available as a firewall program to block spyware in Windows. The use of a simple virus software can make computers work more efficiently.
Hopefully with practice on the Computer How to Speed up performance, the better the performance of your computer
How to Maximize Bandwidth

 yep true ... internet connection is not broken even disconnected
 Ok now I will share a trick for you to make the internet that is not broken .. The formerfirst setting your computer, click the windows logo + R, type gpedit.msc continue, as it looks :
after you click the Ok button will pop up a new window ... like this ....:



.png "English")


